


Over the years, our family photo and video collection has continued to grow. At different points, we have used OneDrive, Google Drive and iCloud to store everything. With two children, and my wife constantly taking photos and videos on both her phone and Sony A7C, our family media collection grows very quickly. The amount of storage we need only seems to move in one direction.
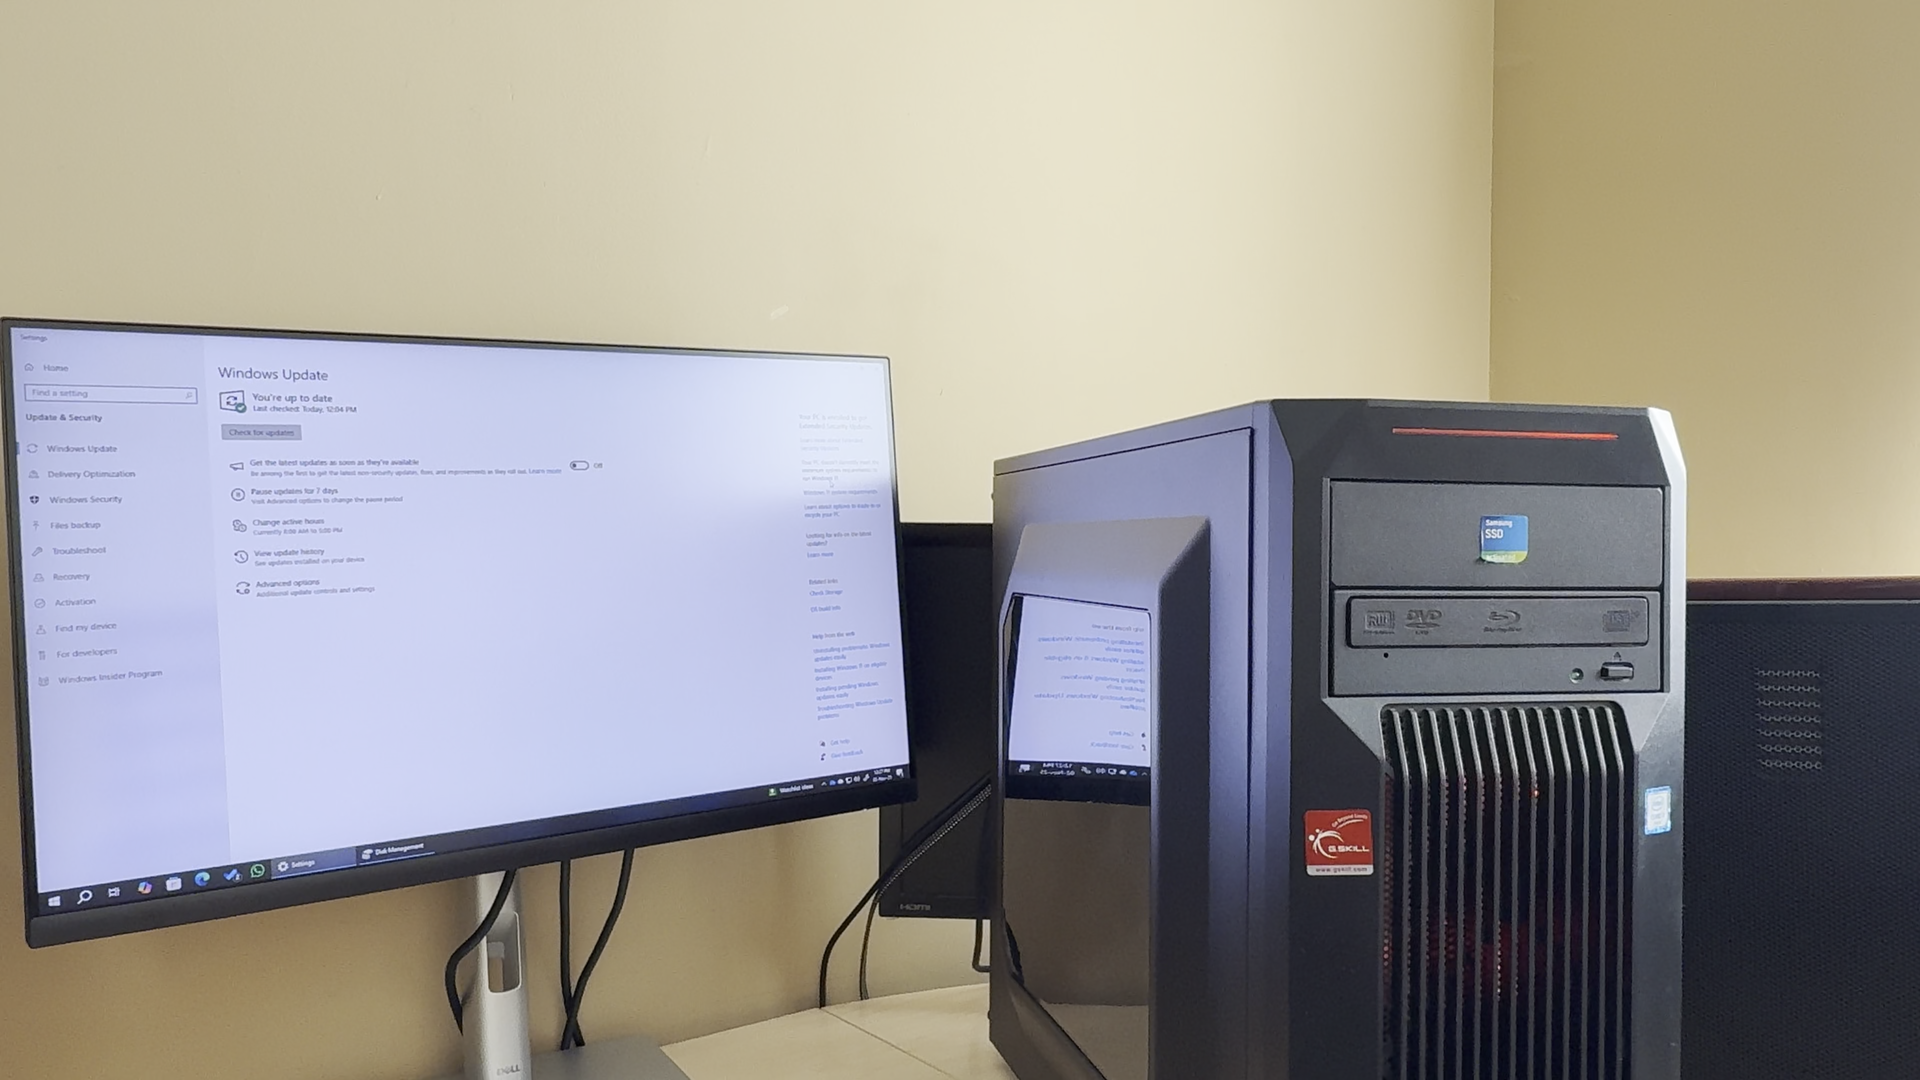
Around the same time, we were transitioning from our older Windows 10 desktop to a new Windows 11 machine. The old PC still worked well, but it was not eligible for a Windows 11 upgrade, so I knew it was nearing the end of its life as our primary desktop. Rather than let it sit unused or eventually recycle it, I started thinking about whether I could give it another purpose. I had already been looking at NAS devices and other ways of creating personal cloud storage at home, and at some point the two ideas came together: instead of buying another dedicated device, could I simply reuse the computer I already owned?
That eventually led me to Nextcloud. The idea was fairly simple: could I turn the old desktop into a personal cloud for our family photos, videos and other files instead of continuing to increase the amount of storage I paid for every month?
If you are looking for an exact step-by-step tutorial, this is not really that article. Instead, I want to show what this project actually involved in real life — the hardware I used, what I spent, the decisions I made, the parts that took more effort than expected, and how the setup has held up over time. My hope is that this helps you decide whether a project like this is something you would want to try yourself.
Testing the Idea Before Spending More
I did not start by buying new hard drives. Before spending more money, I installed Ubuntu on the old desktop and started experimenting with the hardware I already had. I wanted to see whether the basic idea was practical and whether I was comfortable enough with Ubuntu, Docker and Nextcloud to continue with the project. In other words, the first setup was really a proof of concept rather than the final build.
Once the proof of concept showed that the old desktop could do the job, I was comfortable investing in the storage I actually wanted. The initial Ubuntu setup had served its purpose: it let me experiment without committing much money. When the two 6 TB hard drives arrived, I deliberately started fresh so I could build the final storage layout and mount naming the way I wanted from the beginning. The multiple installs were therefore part of the plan — first prove the idea, then build the version I intended to keep.
Building the Final Server
The desktop itself and its existing 1 TB Samsung 970 EVO Plus NVMe drive were hardware I already owned. For the final setup, I purchased two 6 TB Seagate IronWolf hard drives, which cost me $233.18 total. I also purchased a .us domain through Cloudflare for $6.50 per year. Cloudflare Tunnel itself does not add another subscription cost for the way I use it.
The final storage design was fairly straightforward: the 1 TB NVMe drive would hold Ubuntu, applications and Docker, one 6 TB IronWolf drive would hold the main Nextcloud data, and the second 6 TB IronWolf drive would be used for backup. The old desktop, NVMe drive and networking equipment were all things I already owned, so the hard drives were the major new hardware expense.
| Hardware | Purpose |
|---|---|
| Old desktop PC | Nextcloud server |
| Samsung 970 EVO Plus 1 TB NVMe | Ubuntu, applications and Docker |
| Seagate IronWolf 6 TB HDD | Primary Nextcloud storage |
| Seagate IronWolf 6 TB HDD | Backup storage |
The other cost, of course, was time. The entire project probably stretched across about a month, mostly working four or five hours here and there over the weekends. Some of that time was spent recording the project for TechGadgetsFinder, but a significant amount was simply learning, configuring and testing. If I assigned a professional hourly rate to all of that time, I am not sure I could make a convincing argument that this is the cheapest possible way to store photos. For me, the value was a combination of reusing hardware, learning something new, having more control over my data and reducing my dependence on continually increasing cloud storage subscriptions.
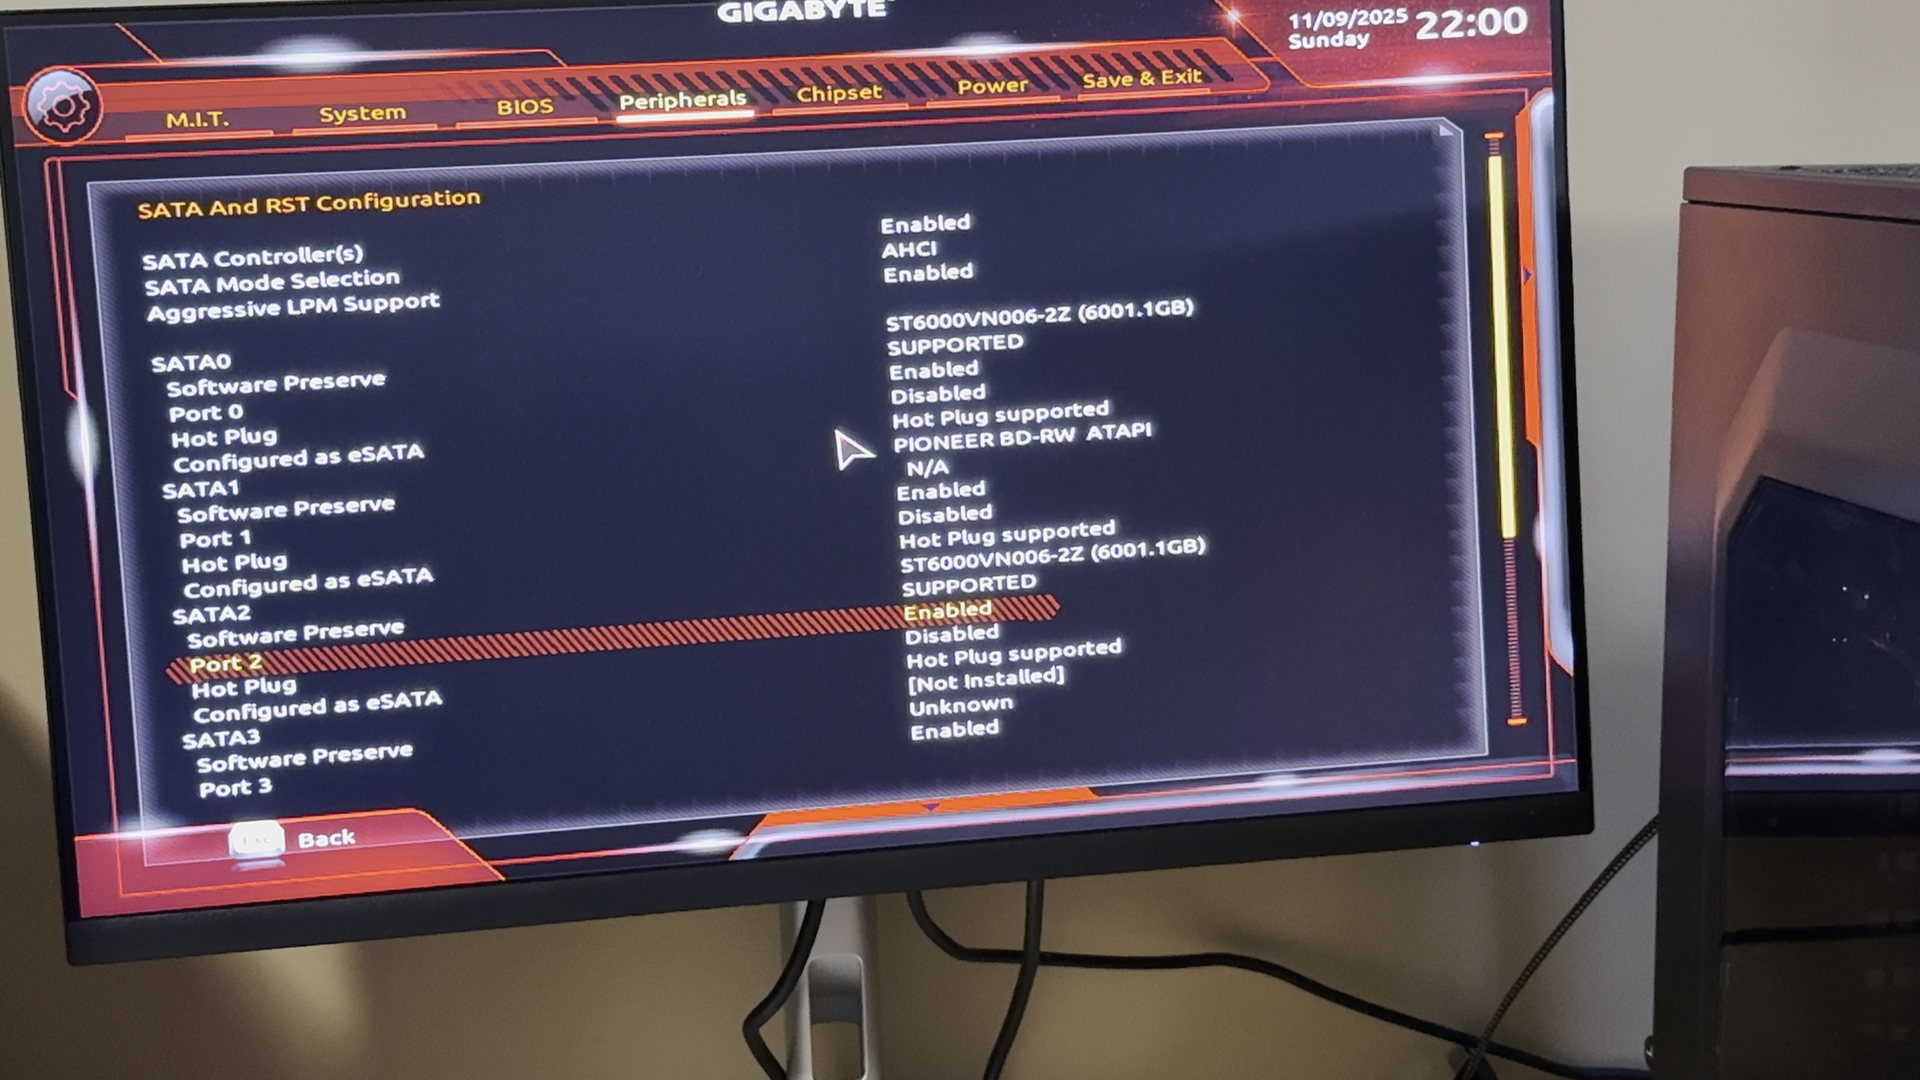
One of the early design decisions was what to do with the two identical 6 TB drives. I considered mirroring them using RAID 1, but eventually decided that a separate backup drive made more sense for my situation. The data is important to me, especially family photos and videos, but this is not a mission-critical business system where I need immediate failover if one drive fails. I was comfortable accepting the possibility that I could lose up to roughly a day of new data between backups. Newer photos also tend to remain on our phones for quite a while before we delete them, which gives me another copy during that period.
A RAID mirror and a separate backup solve different problems. RAID can help keep a system running after a disk failure, while a backup gives you another copy that can be useful if something gets deleted, corrupted or otherwise goes wrong. For my use case, I preferred one drive for primary storage and one as a backup destination.
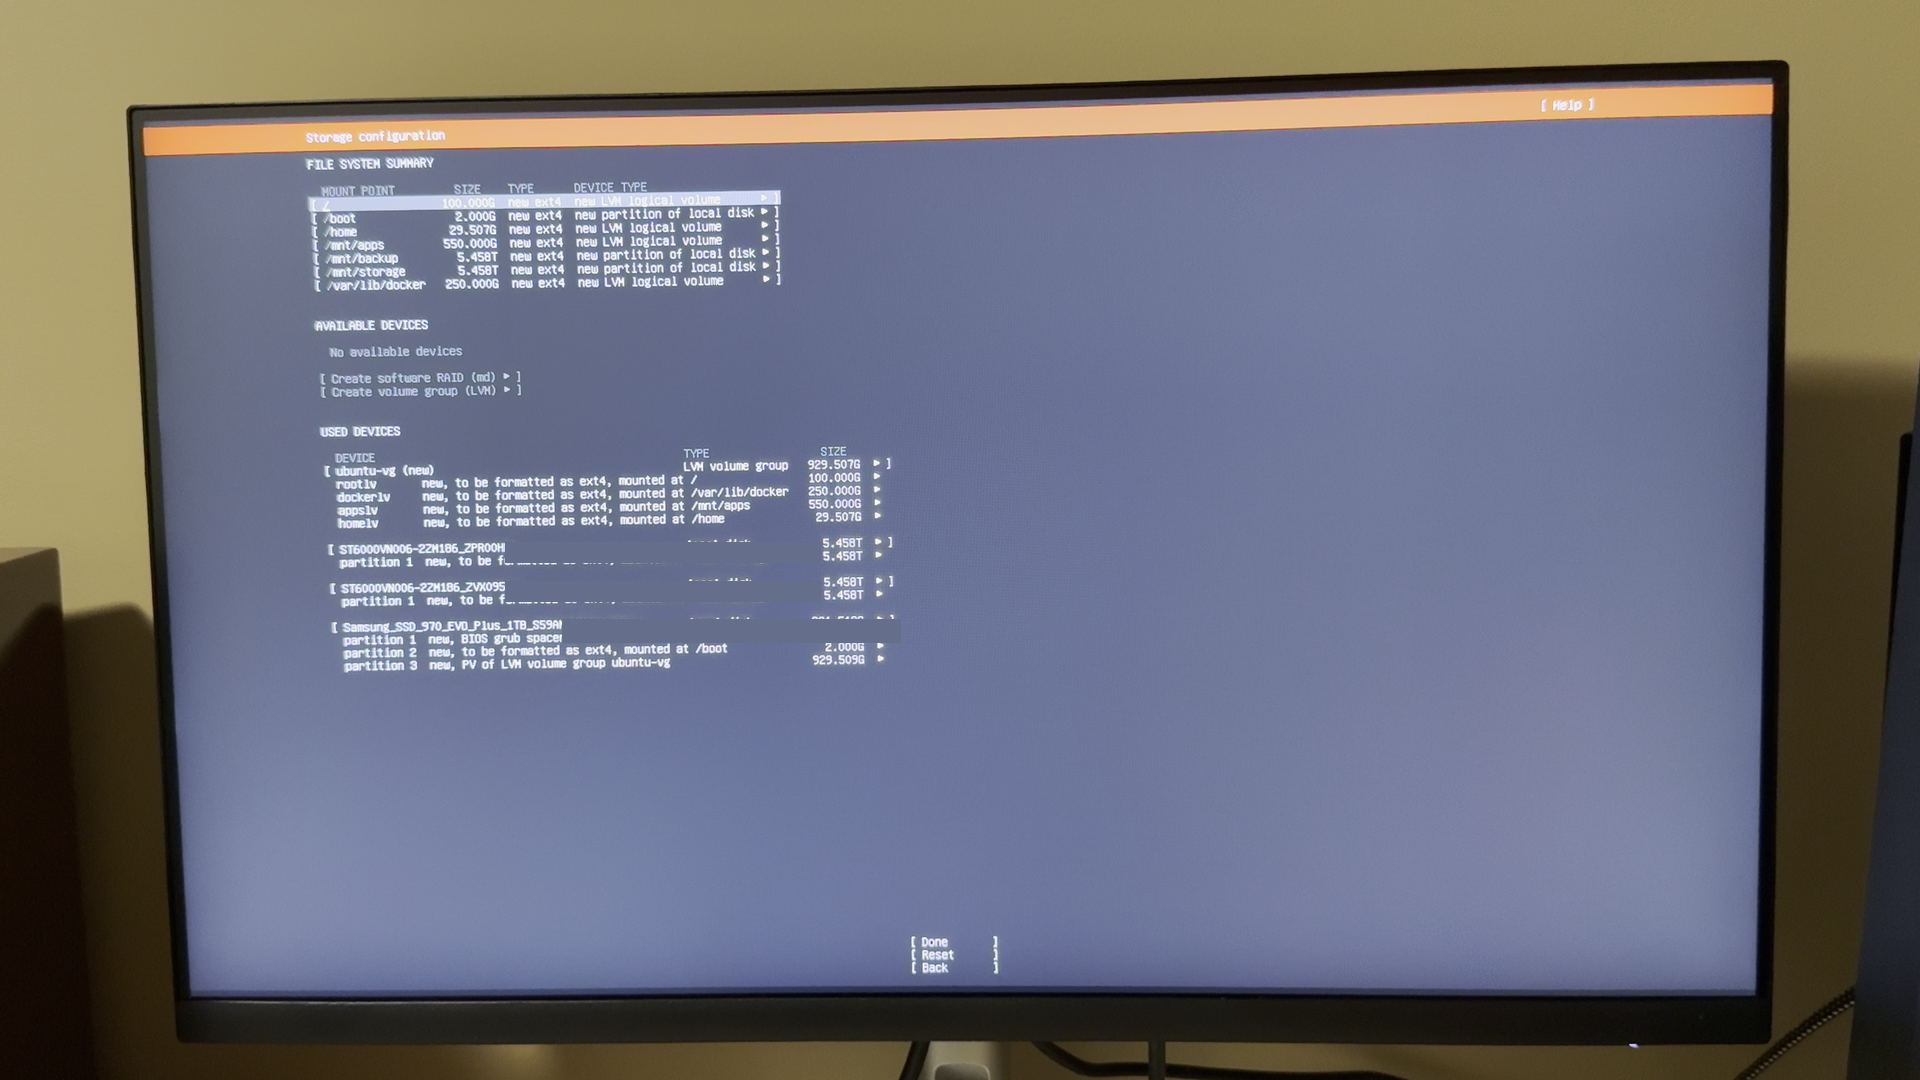
Once the IronWolf drives arrived, I rebuilt Ubuntu rather than trying to retrofit the final configuration into the proof-of-concept setup. I wanted the storage layout and mount points to be very clear, so that months later I would still know exactly what each drive was doing. The main 6 TB data drive became /mnt/storage, while the second large disk was reserved for backup.
The storage configuration took more time than I expected. Installing Ubuntu itself was not particularly difficult, but getting the NVMe partitioning, mount points and disk layout organized exactly the way I wanted took several attempts. I ended up separating space for the operating system, applications and Docker rather than letting everything accumulate under one large root filesystem. That was one of the first reminders that building your own server gives you a lot of control, but also means you are responsible for making many of the decisions that a consumer NAS would normally hide behind a graphical interface.
Getting Nextcloud Running
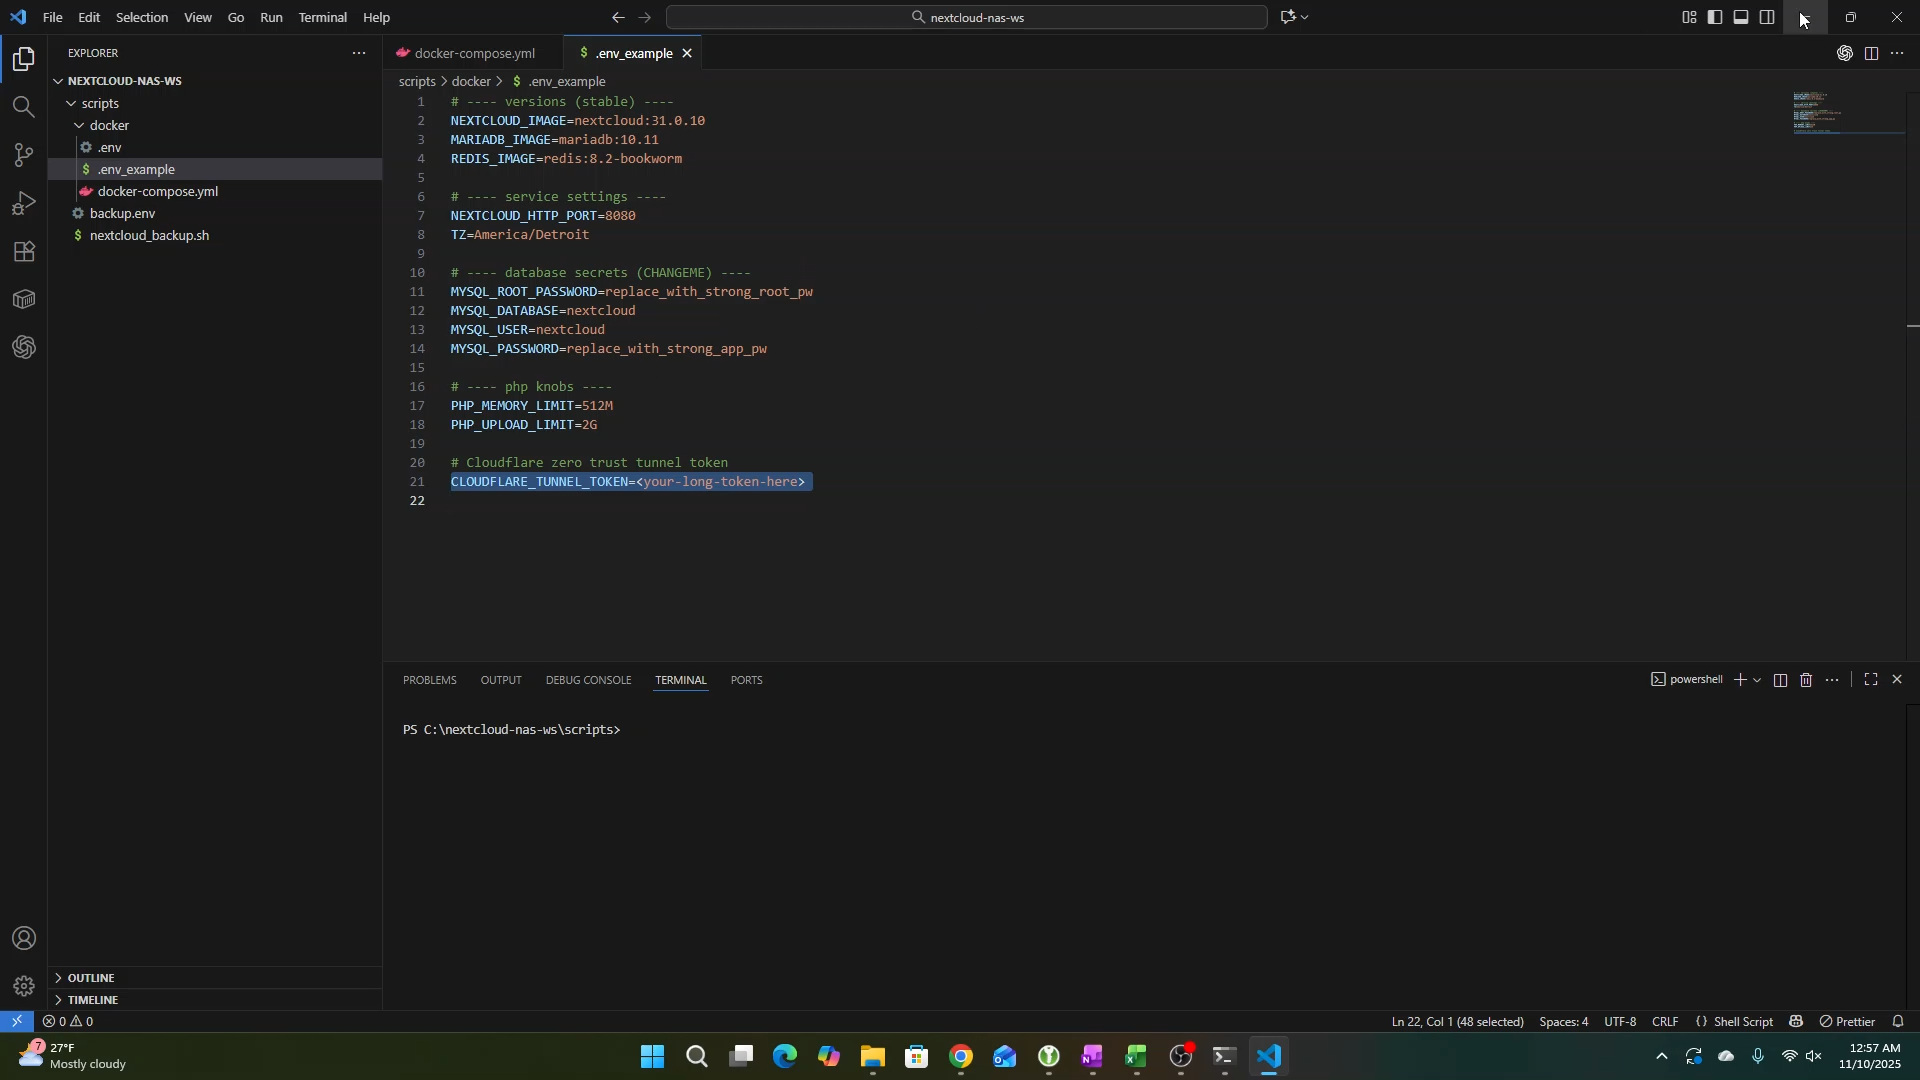
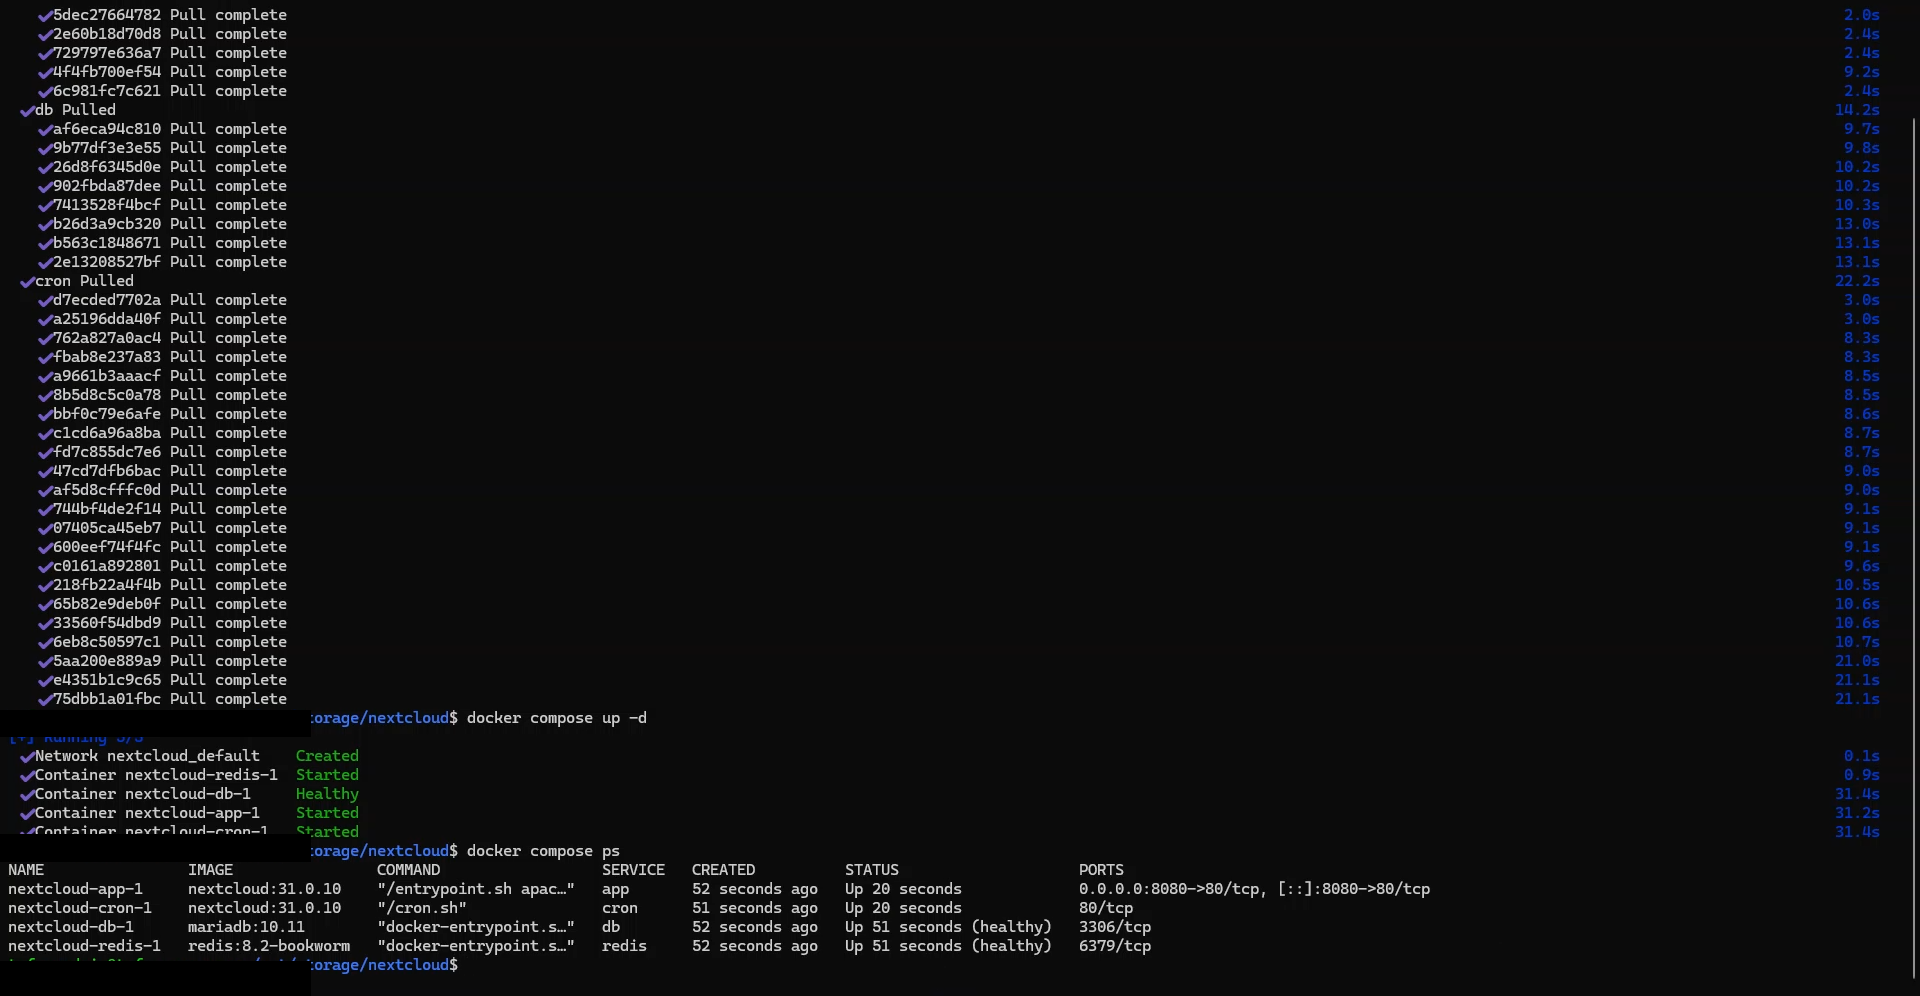
For Nextcloud itself, I chose to use Docker Compose rather than installing everything directly into Ubuntu. My final stack included Nextcloud, MariaDB, Redis, a cron container and eventually the Cloudflare connector. I was not already a Docker expert going into the project, so I had to get comfortable with concepts such as containers, volumes, persistent storage, environment variables and Compose files as I went.
Once I had everything configured, though, I liked the fact that the application stack was defined in one place. One of the more satisfying moments in the project was finally being able to pull the required images, start the containers and then verify that all of the services were running successfully.
I started the project in November 2025, and my original installation used Nextcloud 31.0.10. That version is useful context for what appears in the screenshots and recordings, but it is not a recommendation for someone starting today to reproduce the exact same software versions or configuration. The useful part of this project is understanding the overall approach and the decisions involved rather than copying every command from an older build.
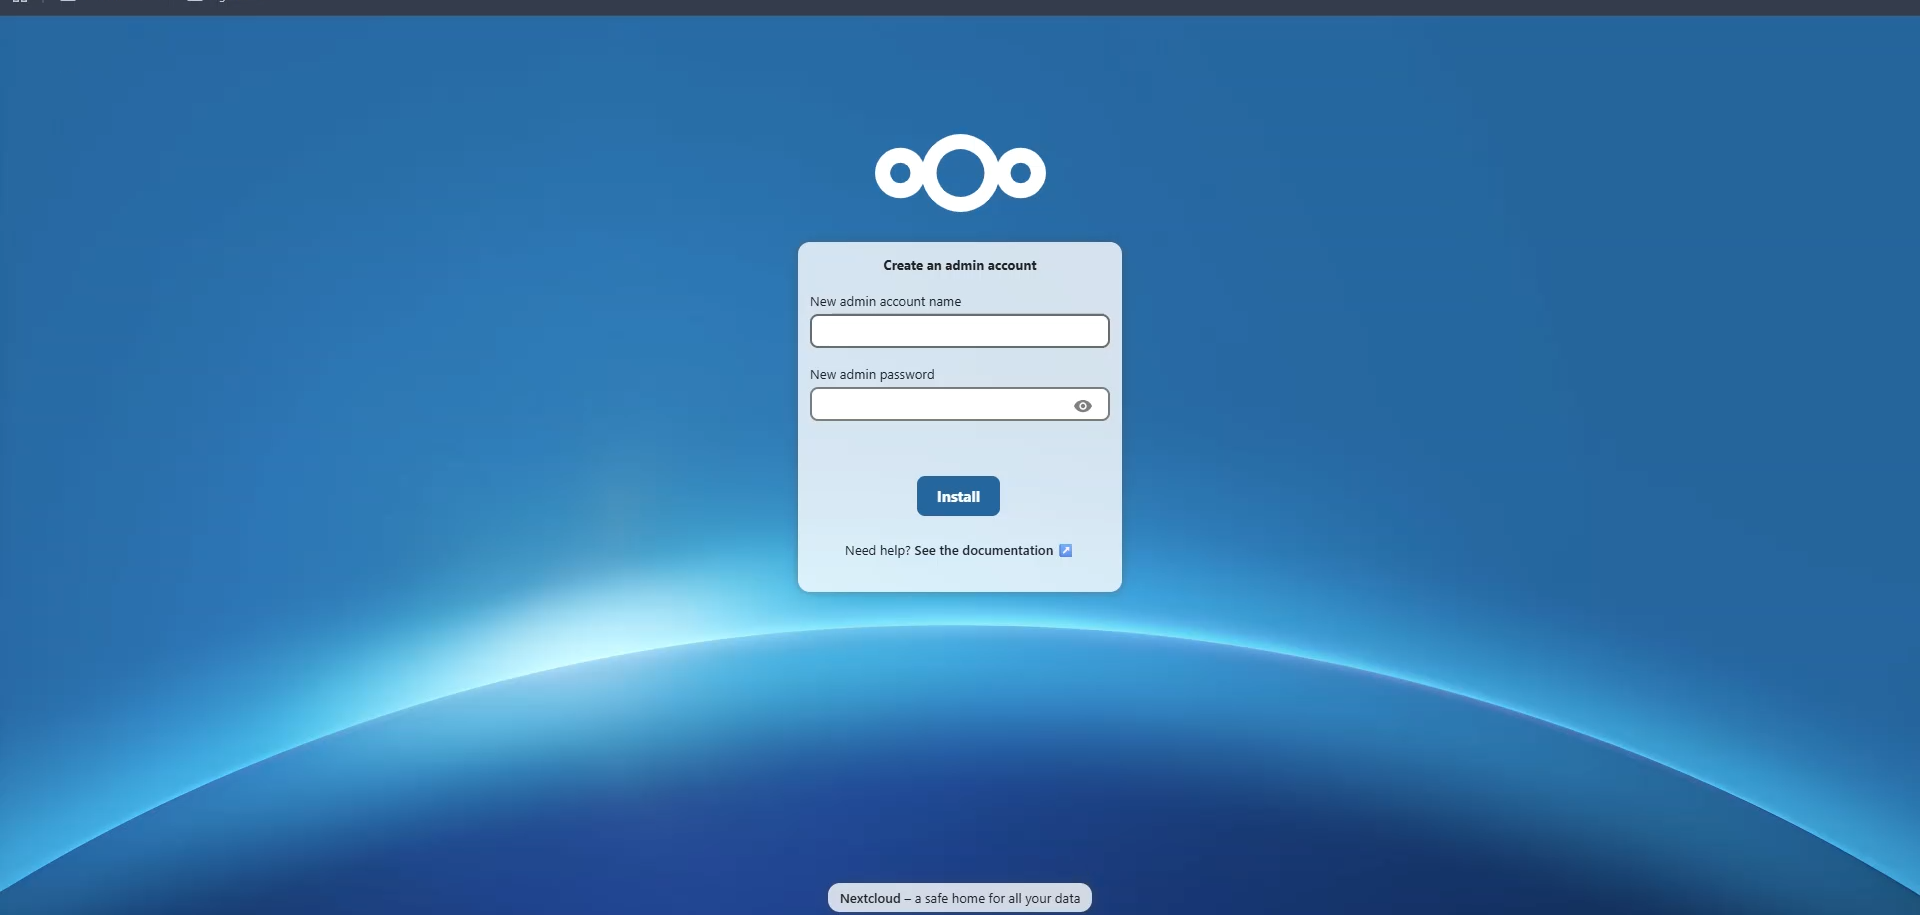
Once the containers were running, I could open Nextcloud in a browser, create the administrator account and work through the initial setup. That was the point where the project stopped feeling like an Ubuntu and Docker experiment and started feeling like an actual personal cloud.
Remote Access and Security
Getting Nextcloud working inside my home network was one thing. Making it accessible from outside the house was the part I was much more cautious about. My concern was not simply whether remote access would work, but whether exposing a service inside my home could create unnecessary risk for the rest of the network.
I ended up using three main safeguards that made me more comfortable with the setup. First, I placed the Nextcloud server on a different subnet from the rest of our normal home devices. Second, I configured firewall rules on my Ubiquiti EdgeRouter Lite so that SSH access to the Ubuntu server is only allowed from inside my home network. Getting those rules working the way I wanted took some time, and I used documentation, Google and AI tools to work through the configuration and test it.
The third decision, and probably the one that mattered most to me mentally, was using Cloudflare Tunnel instead of opening an inbound port on the router. Before finding Cloudflare Tunnel, I had assumed remote access would require traditional port forwarding. That was one of the reasons I had hesitated about doing a project like this in the first place.
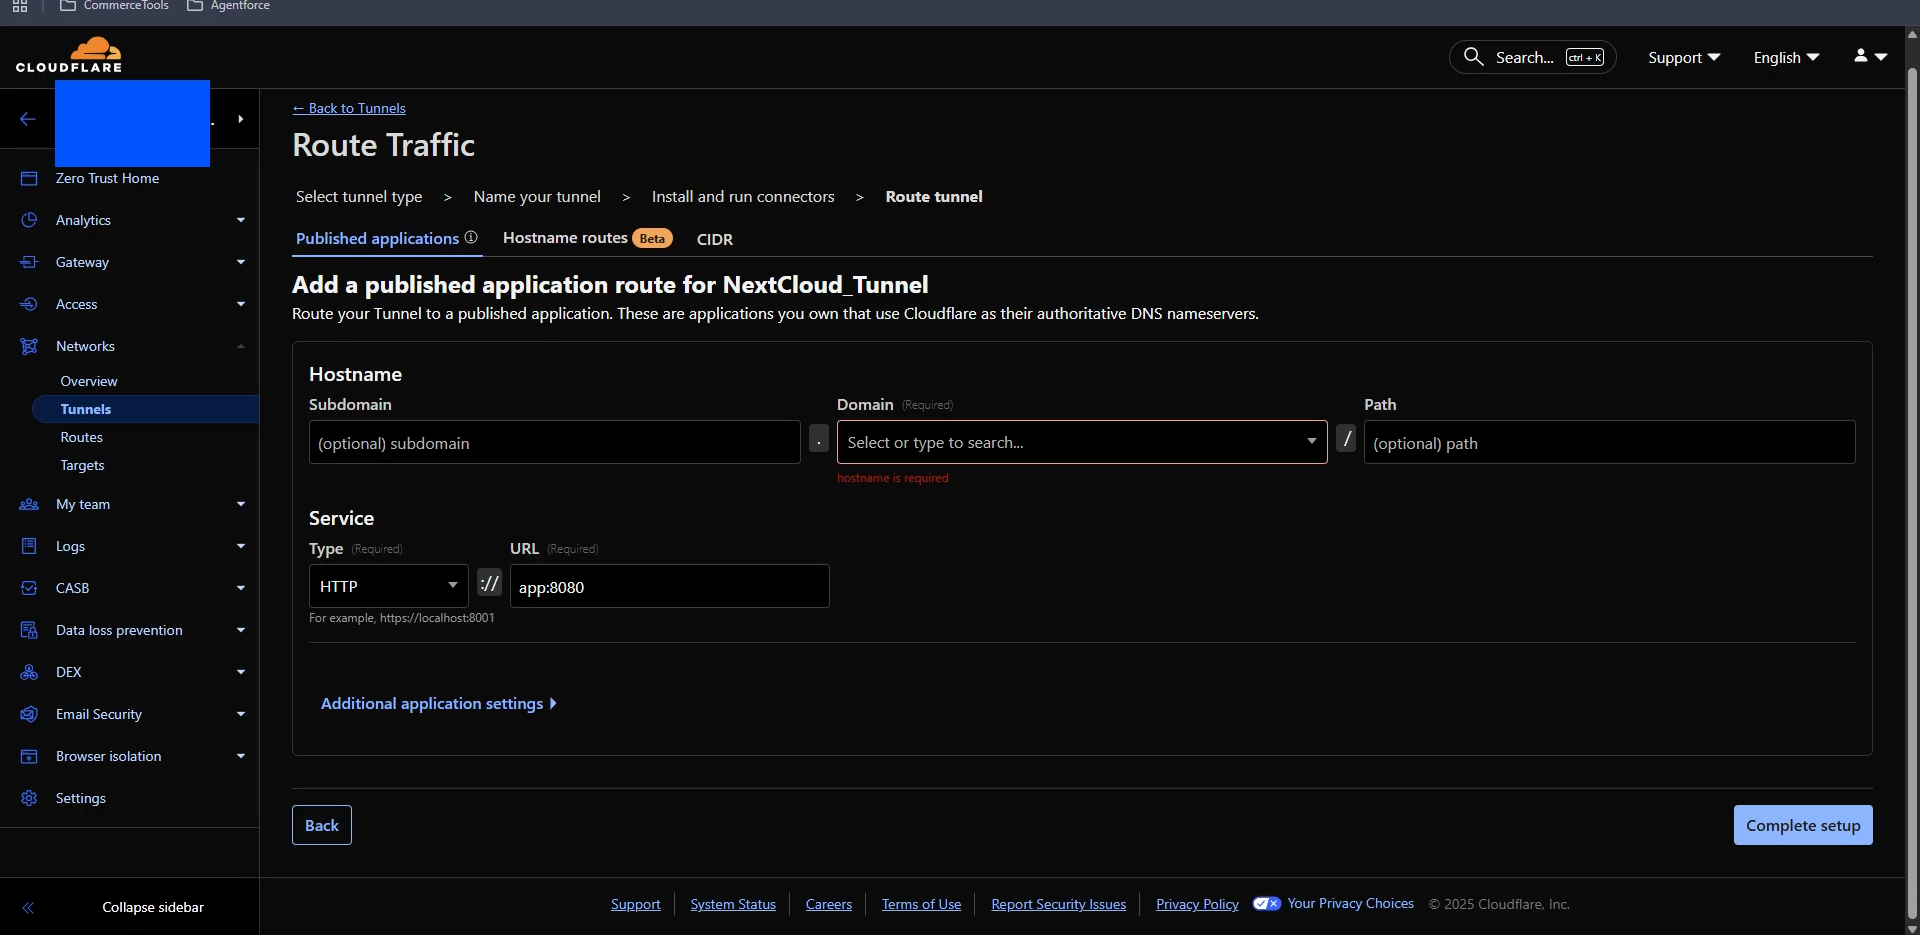
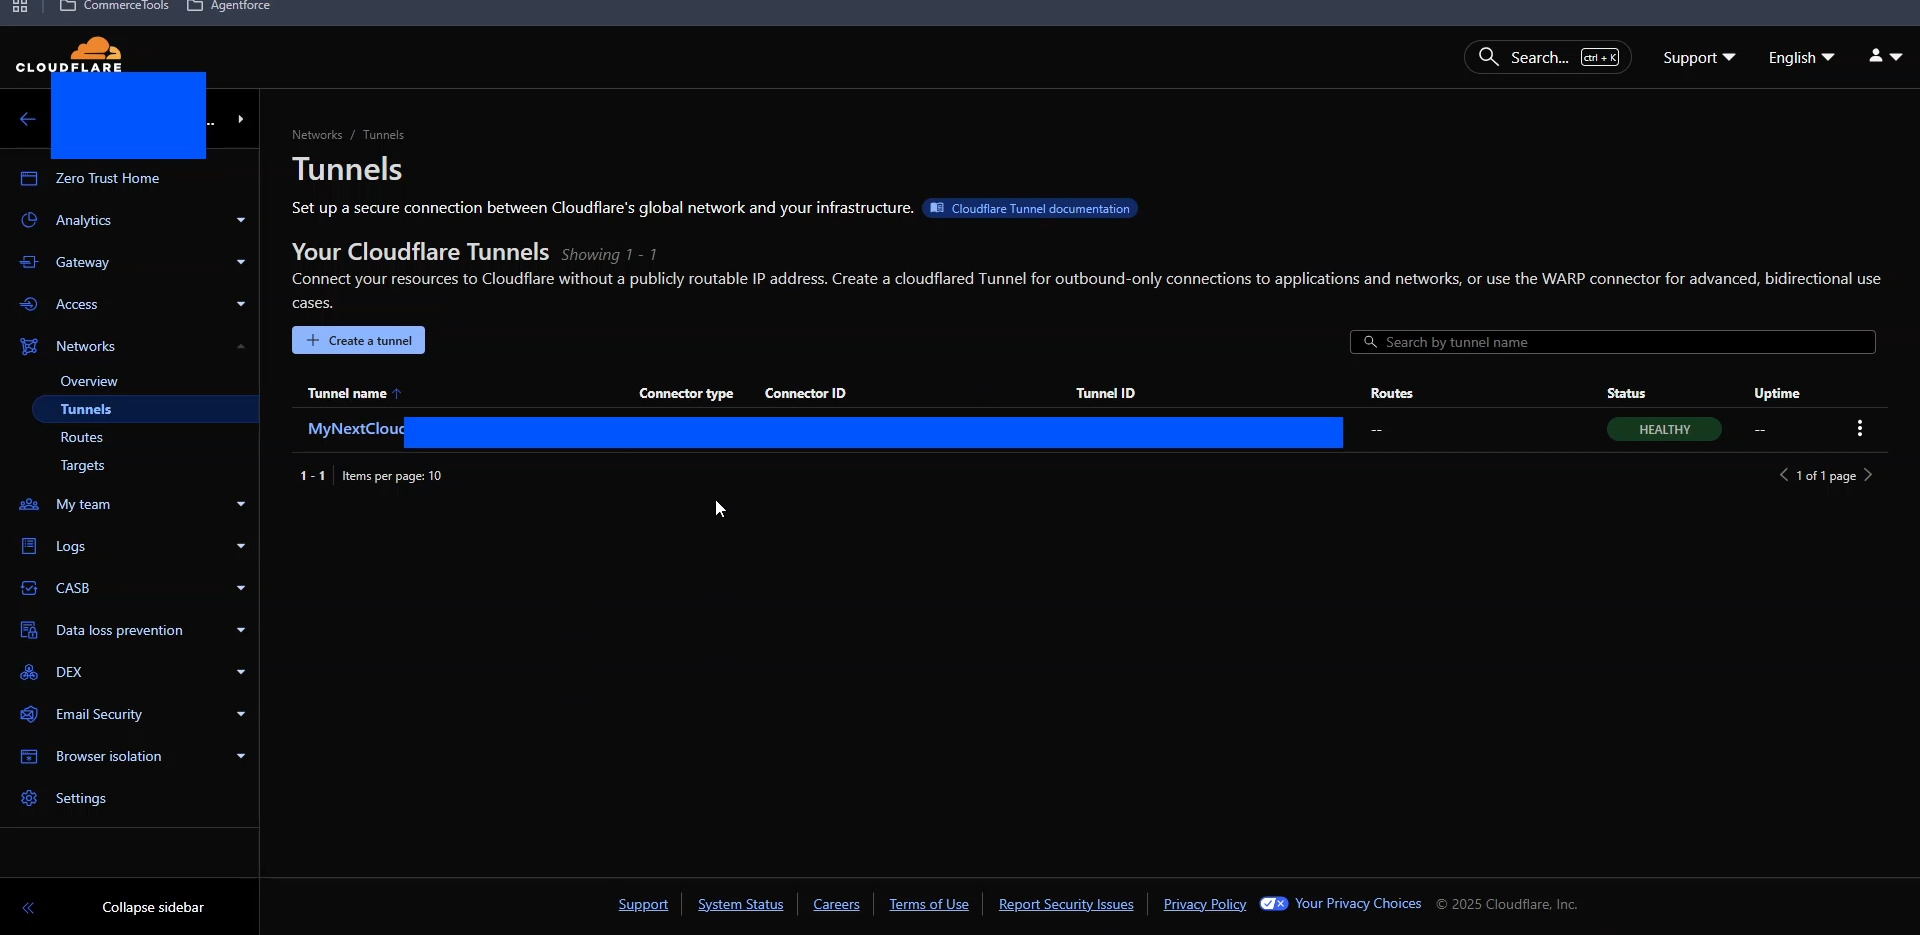
With Cloudflare Tunnel, the cloudflared connector establishes an outbound connection to Cloudflare rather than requiring me to expose an inbound port on the home router. I still kept the server on a separate subnet and restricted SSH access, because I do not view Cloudflare Tunnel as a reason to ignore the rest of the network design. But avoiding traditional port forwarding removed one of my biggest concerns.
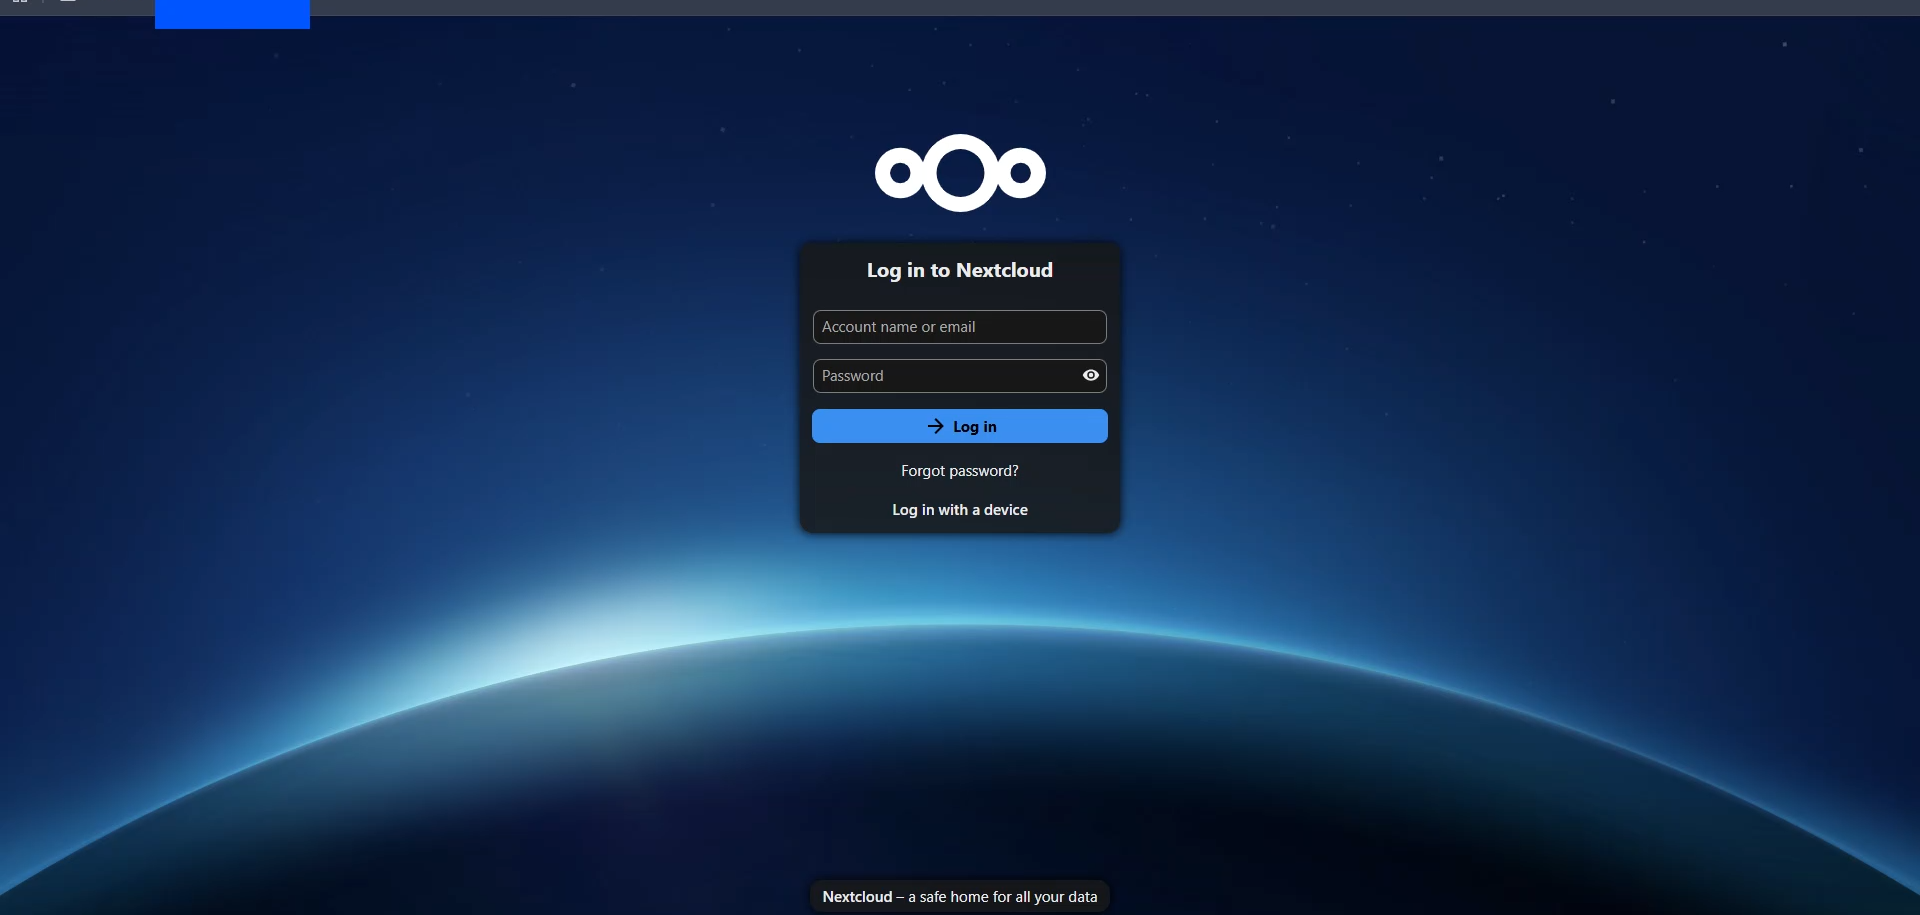
I purchased the .us domain, configured the tunnel and updated Nextcloud so it recognized the public hostname. Seeing the Nextcloud login page load through my own domain was another important milestone. At that point, the old desktop was no longer just a computer running a few containers in my house. It had become something I could actually use as a personal cloud from outside the home.
How We Actually Use It
The real test of a project like this is not whether it works the night you finish setting it up. It is whether you are still using it months later. We are.
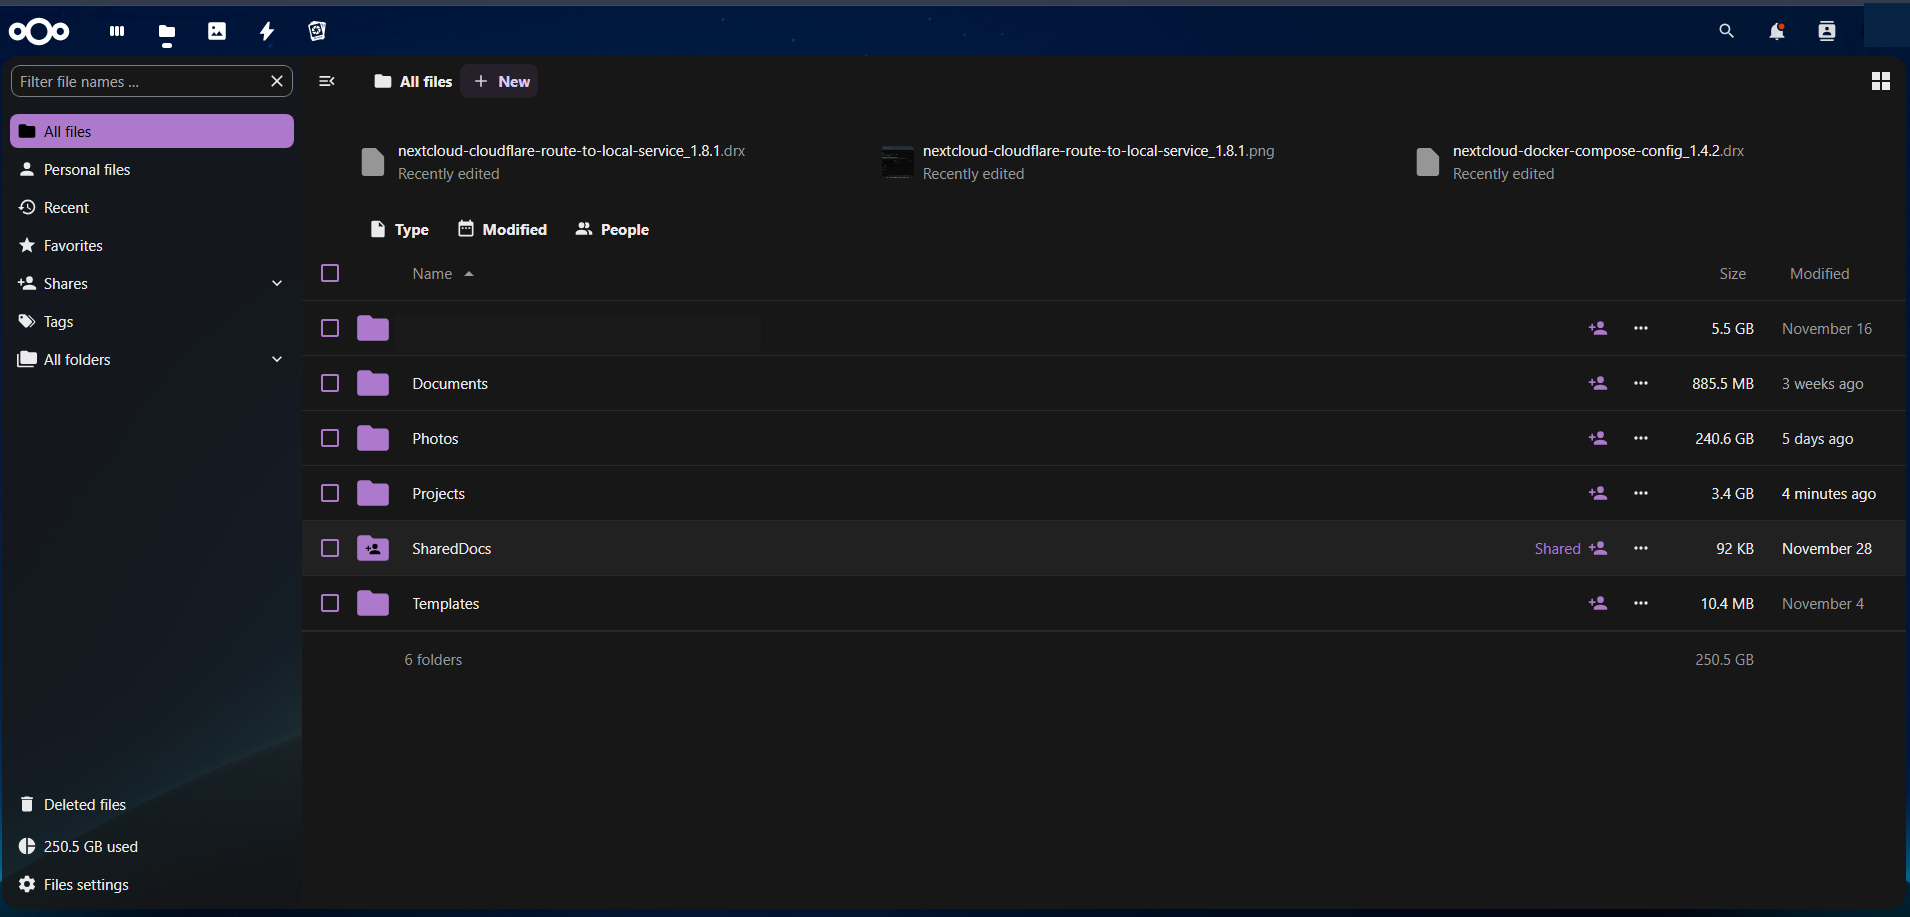
The main use remains family photos and videos. We have moved a significant amount of that data into Nextcloud, and I have canceled at least one cloud storage subscription we previously used. We also keep other everyday files that we want available across devices, but I intentionally avoid treating this server as the home for highly sensitive personal information such as tax documents, identity records or similar material. For me, the value is having a large amount of normal family content in one place that I control.
My wife also keeps large training videos and audio material on the server. One of her more useful real-world tests has been listening to that content during her drive to work, sometimes streaming the audio from fairly large video files while away from home. She has told me that playback has worked well without noticeable buffering. That tells me more about whether the system is meeting our needs than a synthetic benchmark would.
One part of the setup that I particularly like is that our devices can access Nextcloud directly over the LAN while we are at home. Large photo and video uploads do not need to travel out through Cloudflare and back again, so local transfers are much faster. I currently have the phone upload workflow set up primarily around uploading while we are at home. When we are away, we can still use the public Nextcloud account to retrieve files when needed. That combination has worked well for us: fast local access most of the time, with remote access available when it actually matters.
The iPhone experience is one area where the self-hosted setup has not been as seamless as iCloud. This is something I learned only after living with the system, and it is worth knowing before you invest the time in a similar setup. In practice, I sometimes need to open the Nextcloud app after taking a lot of photos or videos and let it catch up. That is manageable for me because I know to do it, but it is more annoying with my wife’s phone because I sometimes have to remind her to open the app so the uploads can complete. There are also conveniences in Apple’s ecosystem, such as automatic storage optimization, that a third-party self-hosted solution does not reproduce in quite the same way.
I do not really view this as Nextcloud failing; it is partly the reality of running a third-party application inside Apple’s ecosystem. But for someone considering Nextcloud specifically as an iCloud replacement, this is an expectation I would set up front. The photo upload workflow works for us, but it requires a little more awareness than Apple’s native experience.
My Experience So Far
Overall, the server has been fairly stable, but that does not mean it has been maintenance-free. Interestingly, most of the significant problems I have run into have been related to the backup process rather than Nextcloud itself.
The backup runs nightly at around 3 AM. At one point, the backup drive was no longer mounted correctly and the backup process started writing somewhere I did not expect. That eventually caused the NVMe drive to fill up and took some troubleshooting to understand. More recently, I found a problem with the retention logic in my backup script where newer snapshots could be removed incorrectly. The script also did not gracefully bring Nextcloud back online under every failure condition.
Those problems were frustrating, but they also exposed weaknesses in the backup process while I was still actively using and monitoring the system. There is probably nothing worse than assuming you have good backups for years and finding out only during an actual failure that they were not doing what you thought. I have since added more safeguards, and the experience reinforced that the backup process deserves just as much attention as the application itself.
Updates are another responsibility that comes with self-hosting. I try not to let the server disappear from my attention just because it is quietly working in the basement. I regularly check Ubuntu security updates, Docker images and the individual application components to make sure they are still current, with security-related updates getting attention sooner rather than later. It is easy for a home server that is working reliably to become something you stop thinking about, but keeping the software maintained is part of running the service yourself.
I have kept the components current with smaller updates, but I have not yet completed a major Nextcloud version upgrade. I am approaching that more cautiously because I want to have a good backup in place, enough time to work through the upgrade, and enough time afterward to confirm that the data, containers and application are all behaving normally. I see that as something I would plan for a weekend when I have a few uninterrupted hours rather than something I want to start casually and discover halfway through that I do not have enough time to finish. That is one of the fundamental differences between this and simply paying another company to provide cloud storage: when you self-host, you are also the administrator.
Was It Worth It?
For me, yes, although not necessarily because I can prove it is dramatically cheaper. The two hard drives cost $233.18, the domain costs $6.50 per year, the computer consumes electricity, and I have spent plenty of hours building and maintaining the system. If I assigned a professional hourly rate to all of that time, paying Google, Apple or Microsoft might look quite inexpensive.
The value for me comes from a combination of things. I extended the useful life of a computer that might otherwise have sat unused. I learned quite a bit about Ubuntu, Linux storage, Docker, Nextcloud, networking, Cloudflare and backups. I have several terabytes of storage that I control, and I am no longer automatically increasing a monthly cloud bill every time our photo collection grows. There is also something satisfying about giving a piece of hardware that had effectively reached the end of its original purpose a useful second life.
If I were starting again today, I would probably do something similar, but I would still spend some time investigating the current software and installation options before committing to exactly the same stack. I would also look at other self-hosted alternatives. What I would not do is replace something that is working just because something newer or more interesting exists. Both my wife and I use this server now, so stability matters much more to me than experimenting with the newest option simply because it is new.
I think this kind of project makes the most sense for someone who already has suitable hardware, enjoys tinkering with technology, does not mind using the command line and is willing to learn some Linux, Docker and networking concepts along the way. You do not need to know everything before you begin — I certainly did not — but you do need enough technical background and curiosity to work through problems. Modern AI tools make that considerably easier than it used to be: if you have the willingness to learn, they can help explain unfamiliar commands, configuration files and error messages as you go. You still need to understand what you are changing, especially around networking and security, but you no longer have to figure out every unfamiliar piece entirely on your own.
If what you want is something you can plug in and essentially forget, then buying a NAS or continuing to use commercial cloud storage may make more sense. If the idea of turning an unused PC into a useful home server sounds like an enjoyable project, however, this experience has convinced me that it is a very realistic option for a technically inclined home user.
What started as a way to avoid wasting a perfectly usable Windows 10 desktop has become something my family actually uses every day. It stores the photos and videos that originally pushed me toward the project, gives us fast access to files inside the house and lets us reach them when we are away. It has also required occasional troubleshooting and ongoing maintenance, which is part of the bargain when you decide to run the service yourself. For me, the trade-off has been worthwhile: the old PC got a second life, I learned a lot in the process, and we ended up with a personal cloud that has become a useful part of our home technology setup.
References and Further Reading
-
Cloudflare Tunnel documentation
— Cloudflare explains how
cloudflaredestablishes an outbound-only tunnel, avoiding open inbound ports and a publicly exposed origin IP. - Nextcloud Docker documentation — Official documentation for the Nextcloud Docker image, including Docker Compose examples, MariaDB, Redis, persistent storage and container configuration.
- Nextcloud upgrade guidance — Official guidance covering maintenance releases, major-version upgrades and recommended upgrade practices.
